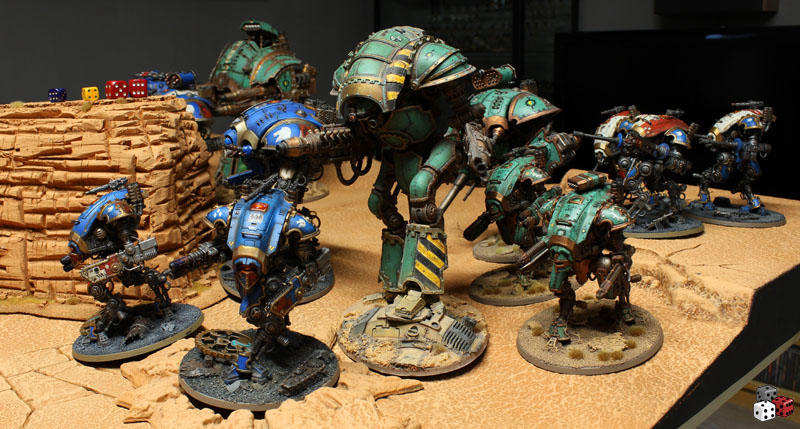
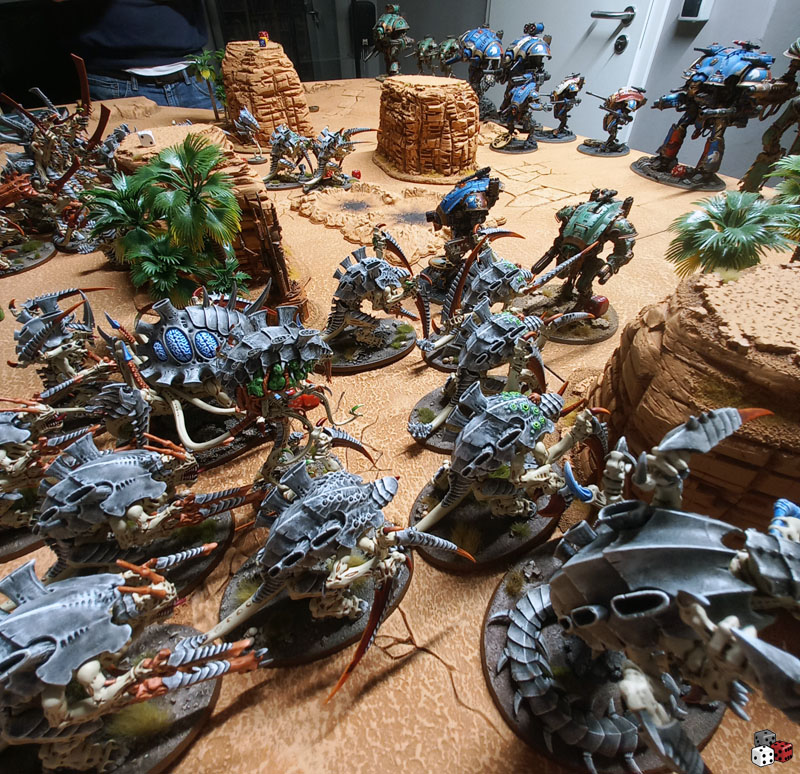
Today two friends came by and we played one and a half big games with Imperial Knights vs. Tyranids.
It was a lot of fun. Thank you Funky_Biber and Captain_Valerius!

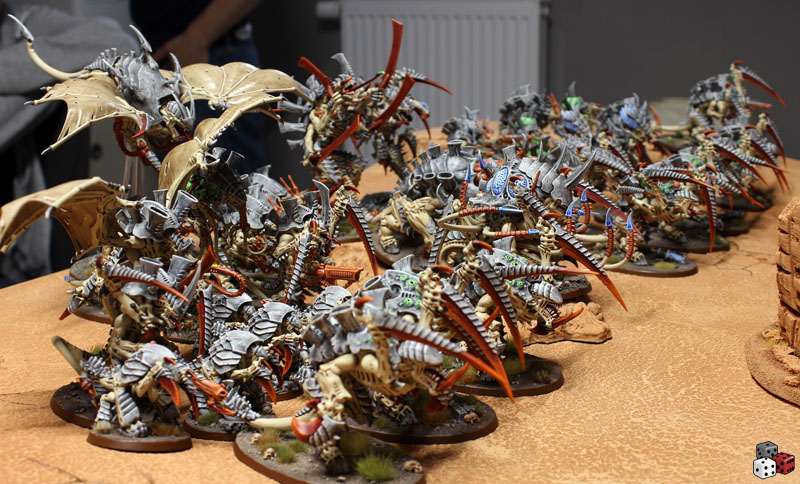


Today two friends came by and we played one and a half big games with Imperial Knights vs. Tyranids.
It was a lot of fun. Thank you Funky_Biber and Captain_Valerius!


And without further ado, here comes the finished Acastus Knight Porphyrion.


I painted the whole thing with regular brushes and acrylic
paints. On top followed GW washes, oil washes and pigments. I'm relieved
to see it finally done. I don't need to paint such a large model again.
Kudos to everyone who approaches titans on this scale.
Now I can finally paint something else again!
Painting the Knight takes an unexpectedly long time. It's a relativly large model and in terms of points value I am basically painting half an army.

There were also some bumps, or better to say "happy accidents", on the way...

Here are some WIP pictures of my latest project:


I have already finished the Atrapos Knight.
Sure, I could paint a thousand more details on the Knight, but the overall impression would only change a little. Eventually, it is just a model for the gaming table and not for the showcase. I hope you like it.


Here is one final picture for size comparison. An Tech-Priest Enginseer and the Cerastus Knight-Atrapos in all its glory.

Over the last evenings, I worked on an Atrapos Imperial Knight. This kit was a "small" Christmas gift I made myself. It took me one evening to wash and clean all the parts and another to put the metal skeleton together.

Then I started with the painting of the armour parts. At first, I wasn't sure about what colours to use but decided to go with the colour scheme I used on my first Knight over six years ago.

1. I wanted some hazard stripes. So, I used small strips of masking tape to mask off some areas.
2. After a coat of light brown, two coats of yellow followed.
3. After peeling off the masking tape, it looked pretty good.
4. The brass colour came on and small highlights at the hazard stripes".
5. Washes! - Agrax Earthshade and Reikland Fleshshade
6. After the application of brown oil wash.

7. Dabbed some of the base colours back on.
8. Painted battle damage and the first cautious weathering effects.
9. Added more weathering, as well as the decals. -> Done!


